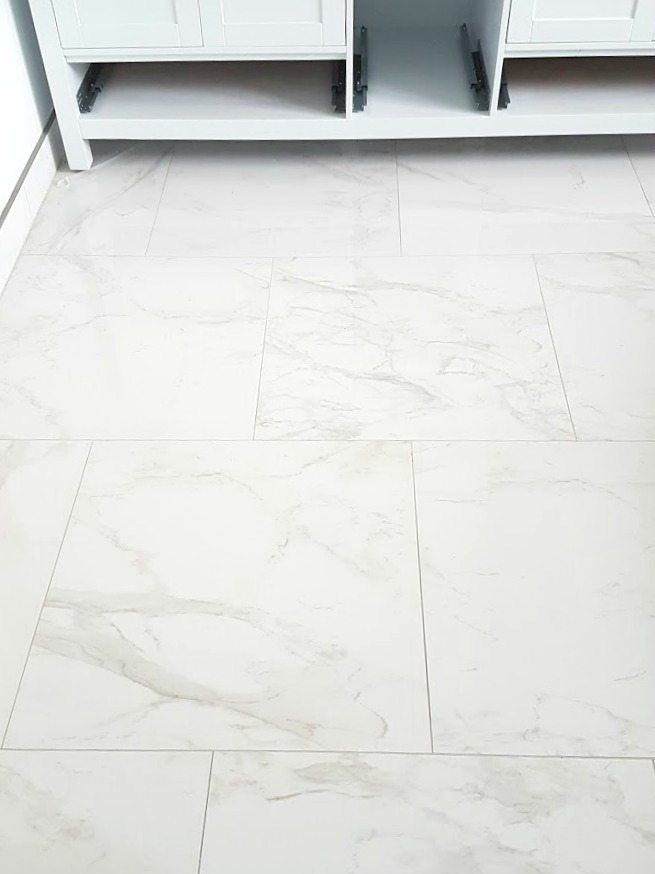
How to Install Carrara Marble Tile: Xiamen Perfect Stone’s Great Solution
If you’re considering adding the timeless elegance of Carrara marble to your space, proper installation is key to ensuring a flawless finish. Carrara marble, prized for its classic beauty and subtle veining, is a popular choice for countertops, backsplashes, and flooring. However, installing Carrara marble tile requires precision and attention to detail to achieve stunning results. In this guide, we’ll walk you through the step-by-step process of installing Carrara marble tile, along with a great solution offered by Xiamen Perfect Stone to ensure a successful installation every time.

Understanding Carrara Marble
Before diving into the installation process, let’s take a moment to appreciate the beauty of Carrara marble. Quarried from the mountains of Italy, Carrara marble is renowned for its soft, grayish-white background and intricate veining patterns. Its versatility and timeless appeal make it a popular choice for both traditional and contemporary interiors, adding a touch of sophistication to any space.
Preparation and Planning
The key to a successful Carrara marble tile installation lies in thorough preparation and planning. Begin by assessing the installation area to determine the quantity of tiles needed and any special considerations, such as layout and design preferences. Gather all the necessary tools and materials, including adhesive, grout, spacers, and tile-cutting tools, to ensure a smooth installation process.
Surface Preparation
Next, prepare the surface for tile installation. Ensure that the subfloor is structurally sound, level, and clean of any debris or dust. Any unevenness in the subfloor can result in cracked or uneven tiles, so it’s essential to address any issues before proceeding with installation.
Setting the Tiles
Once the surface is prepared, it’s time to start setting the tiles. Begin by applying a thin layer of adhesive to the substrate using a notched trowel, then carefully place each tile in position, pressing firmly to ensure good adhesion. Use tile spacers to maintain consistent spacing between tiles and create straight grout lines.
Cutting and Shaping Tiles
As you approach edges, corners, or obstacles, you may need to cut or shape tiles to fit. Carrara marble is a relatively soft stone, making it easier to cut than harder materials like granite. Use a wet saw or tile nipper to make precise cuts, ensuring a seamless fit around obstacles or along edges.
Grouting Process
Once all the tiles are set in place and the adhesive has cured, it’s time to grout the joints. Choose a grout color that complements the color of your Carrara marble tiles and mix it according to the manufacturer’s instructions. Apply the grout using a rubber float, pressing it into the joints and ensuring full coverage.
Sealing the Tiles
After the grout has dried, typically after 24 to 48 hours, it’s essential to seal the Carrara marble tiles to protect them from stains and moisture. Choose a high-quality penetrating sealer specifically formulated for natural stone tiles and apply it according to the manufacturer’s instructions. Be sure to seal both the tiles and the grout lines for comprehensive protection.
Finishing Touches
Once the tiles are sealed, it’s time for the finishing touches. Clean off any excess grout from the surface of the tiles using a damp sponge, taking care not to disturb the grout lines. Seal the edges of the installation with silicone caulk to prevent water intrusion and ensure a professional-looking finish. Finally, conduct a thorough inspection of the installation, making any necessary adjustments or touch-ups to achieve perfection.

Quality Assurance
While installing Carrara marble tile may seem daunting, Xiamen Perfect Stone offers a great solution to simplify the process and ensure successful results. With their expertise in marble products and installation techniques, you can trust Xiamen Perfect Stone to deliver superior quality and exceptional service, from selection to installation.
Step-by-Step Guide: Installing Carrara Marble Tile
For a more detailed guide on installing Carrara marble tile, refer to the following step-by-step instructions:
- Preparation: Assess the installation area and gather tools and materials.
- Surface Preparation: Ensure a level and clean substrate.
- Setting the Tiles: Apply adhesive and set tiles in place.
- Cutting and Shaping Tiles: Make precise cuts as needed.
- Grouting Process: Apply grout and clean off excess.
- Sealing the Tiles: Seal tiles and grout lines for protection.
- Finishing Touches: Clean off any remaining grout and seal edges.
Common Mistakes to Avoid
- Rushing the installation process without proper preparation
- Neglecting to seal the tiles and grout lines
- Using excessive force when cutting or shaping tiles
Maintenance and Care
To maintain the beauty of your Carrara marble tile installation, follow these maintenance tips:
- Clean spills promptly to prevent staining
- Use a pH-neutral cleaner for regular maintenance
- Avoid harsh chemicals or abrasive cleaners
Xiamen Perfect Stone’s Great Solution
Installing Carrara marble tile requires careful planning, preparation, and execution to achieve professional results. With the right tools, materials, and techniques, you can transform any space with the timeless beauty of Carrara marble. And with Xiamen Perfect Stone


